안드로이드 프로그래밍 1주차
안드로이드 프로그래밍 1주차
개발 환경 구성
수업 내용은 Java와 Android 8.0의 SDK 26을 사용하여 구현할 예정이다.
개발환경은 안드로이드 스튜디오 기본 에뮬레이터와 블루스택 Android 11 에뮬레이터를 이용하여 구성하였다.
안드로이드
Java
화면
1) 디자인 구성요소 배치 속성설정 => xml activity_main.xml
태그 명령
1
2
3
4
5
6
7
8
9
10
11
12
   <태그 명령시작 속성>
   </태그 명령시작 속성>

   <태그명령 속성>
       속성 - 위젯의 배치(크기, 너비, 높이...), 글자 크기 및 색상, 정렬....
   </태그명령 속성>

   <!-- 위젯을 담기위한 컨테이너(Layout) -->
   <LinearLayout(컨테이너)>
   	<위젯 ex 버튼>
   	</위젯 ex 버튼>
   </LinearLayout(컨테이너)>
component => Widget 위젯(클래스 -> 버튼, 텍스트뷰, 입력판, 리스트, 체크박스 등)
동작(조건에 따른 실행, 이벤트 등) => java MainActivity.java
안드로이드 스튜디오로 버튼 만들기
- 코드는 다음과 같이 구성하였다
1
2
3
4
5
6
7
8
9
10
11
12
13
14
15
16
17
18
19
20
21
22
23
24
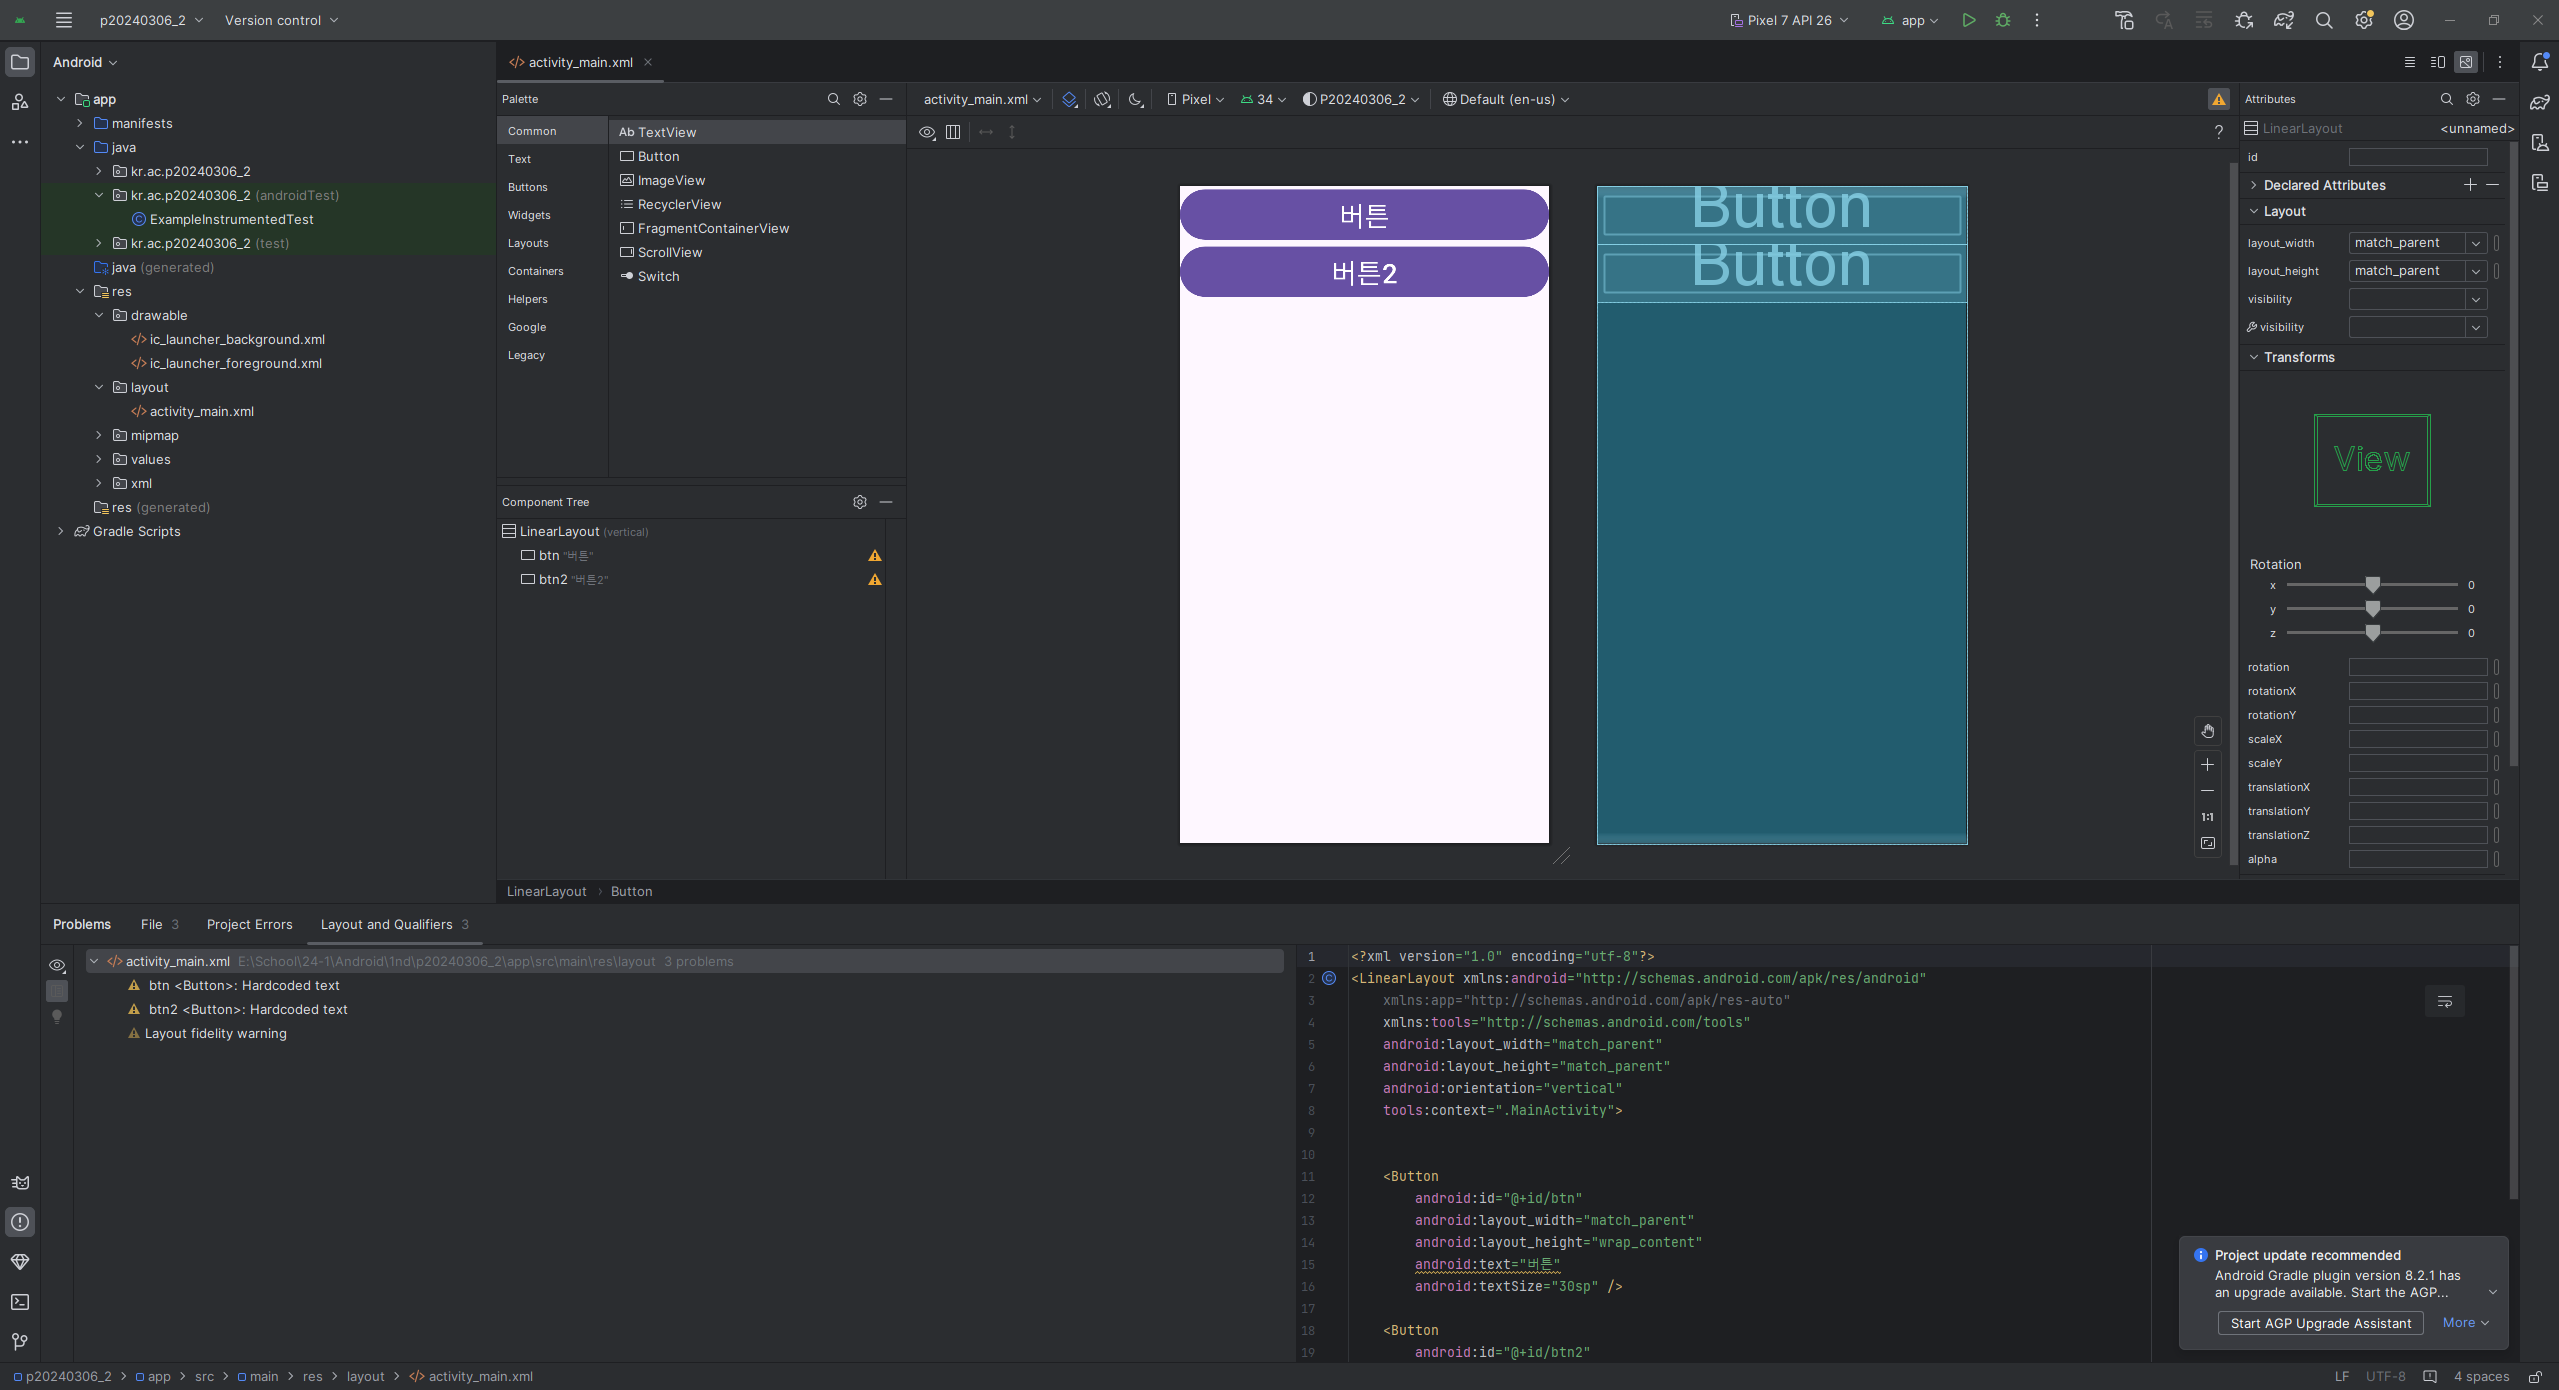
<?xml version="1.0" encoding="utf-8"?>
<LinearLayout xmlns:android="http://schemas.android.com/apk/res/android"
xmlns:app="http://schemas.android.com/apk/res-auto"
xmlns:tools="http://schemas.android.com/tools"
android:layout_width="match_parent"
android:layout_height="match_parent"
android:orientation="vertical"
tools:context=".MainActivity">
<Button
android:id="@+id/btn"
android:layout_width="match_parent"
android:layout_height="wrap_content"
android:text="버튼"
android:textSize="30sp" />
<Button
android:id="@+id/btn2"
android:layout_width="match_parent"
android:layout_height="wrap_content"
android:text="버튼2"
android:textSize="30sp" />
</LinearLayout>
아래의 사진은 위의 코드를 이용하여 만든 모습 이다
버튼 제작을 위해 사용된 요소
- android:id
- 버튼을 생성 이후, 외부 클래스에서 이 버튼에 이벤트를 적용 시키기 위해서 사용한다
- LinearLayout은 각각의 뷰를 하나의 열이나 행으로 정렬해 보여주는 레이아웃이다
- android:layout_width
- match_parent, wrap_parent 중 하나를 선택 가능하다
- match_parent : 버튼의 너비가 뷰의 너비의 크기만큼 확장된다
- wrap_parent : 버튼의 너비가 버튼 내의 글자의 크기 만큼 확장된다
- android:layout_height
- match_parent, wrap_parent 중 하나를 선택 가능하다
- match_parent : 버튼의 높이가 부모(뷰)의 높이 만큼 확장된다
- 단, 중간에 다른 오브젝트가 위치에 있을 경우, 그 오브젝트 이전까지만 높이가 늘어난다.
- wrap_parent : 버튼의 높이가 버튼 내의 글자가 차지하는 높이 만큼 확장된다
- android:text
- 출력할 텍스트를 입력하는 목적으로 사용됨
- android:textSize
- 버튼의 크기를 지정하는 목적으로 사용됨
- 숫자 + sp의 형태로 사용함
버튼에 이벤트 구현하기
- 버튼에 이벤트를 구현하기 위해서는 크게 3가지의 과정이 있다 1) xml파일에서 버튼을 생성하며 id를 지정해 준다
- 이때 id의 방식은 @+id/id명으로 해야한다 2) java파일에서 버튼을 선언하고 메모리에 지정해준다
- 버튼 선언은 Button 버튼명;의 방식으로 지정한다
- 버튼을 메모리에 선언하기 위해서는 onCreate 함수에 버튼명 = (Button)findViewById(R.id.버튼id명);의 방식을 사용한다 3) onCreate함수 내에 버튼명.setOnClickListener(new View.OnClickListener()을 이용하여 실행할 이벤트를 지정한다
예시 코드는 다음과 같다
1
2
3
4
5
6
7
8
9
10
11
12
13
14
15
16
<!-- activity_main.xml -->
<?xml version="1.0" encoding="utf-8"?>
<LinearLayout xmlns:android="http://schemas.android.com/apk/res/android"
    xmlns:app="http://schemas.android.com/apk/res-auto"
    xmlns:tools="http://schemas.android.com/tools"
    android:layout_width="match_parent"
    android:layout_height="match_parent"
    tools:context=".MainActivity">

    <Button
        android:id="@+id/testButton"
        android:layout_width="match_parent"
        android:layout_height="wrap_content"
        android:text="Test Button"/>

</LinearLayout>
1
2
3
4
5
6
7
8
9
10
11
12
13
14
15
16
17
18
19
20
21
22
23
24
25
26
27
28
//MainActivity.java

package kr.ac.baekseok.testpr;

import androidx.appcompat.app.AppCompatActivity;

import android.os.Bundle;
import android.view.View;
import android.widget.Button;
import android.widget.Toast;

public class MainActivity extends AppCompatActivity {
    Button testBtn;

    @Override
    protected void onCreate(Bundle savedInstanceState) {
        super.onCreate(savedInstanceState);
        setContentView(R.layout.activity_main);
        testBtn = (Button)findViewById(R.id.testButton);

        testBtn.setOnClickListener(new View.OnClickListener() {
            @Override
            public void onClick(View v) {
                Toast.makeText(getApplicationContext(),"Clicked", Toast.LENGTH_LONG).show();
            }
        });
    }
}
이 기사는 저작권자의 CC BY 4.0 라이센스를 따릅니다.